
End Table Woodworking Project
Disaster Strikes
Early one morning, as I often do on weekdays before work, I went into our living room to sit on the couch and meditate for a few minutes. I like to keep the lights off while I meditate and since it was about 5 am, the room was very dark. As I put my hand down on the couch just before sitting down, I noticed that it was very wet. Only one cause for this scenario popped into my head: a water leak. I rushed to turn the lights on and discovered that, sure enough, water was dripping down from the ceiling. Later that day, after the plumber had come out and diagnosed the situation, it was determined that a clog had slowly developed in our master bathroom drainpipe connecting our shower and toilet. At some point the previous day, the water level finally backed up all the way to the toilet after it had been flushed (likely sometime right before we went to bed). Normally, the water would have backed up into the toilet. However, the wax ring in the toilet was old and had degraded to the point where it no longer sufficiently sealed the pipe with the toilet. So, instead of the water backing up into the toilet, it went down into the floor and, subsequently, into the level below (i.e., our living room). Because this situation was deemed a “backwater backup”, a mold remediation service was called in and they swiftly tore out all of the affected ceiling and wood flooring sections in the living room, followed by mold treatment of the underlying surfaces. A month-long living room restoration project ensued.
A Silver Lining
After discussions with the insurance company and local flooring contractors, it was determined that the original wood flooring in the living room (which continued throughout most of the main floor) could not be matched. Therefore, all of the flooring that matched the original flooring that was affected by the leak had to be removed and replaced. While the affected flooring had to be discarded due to contamination, the rest of the flooring on the main level was still in good shape, discounting the worn finish on the boards. A neighbor suggested saving some of the boards for future woodworking projects, which I thought was a wonderful idea (what woodworker doesn’t appreciate “free” wood?). After the flooring contractor ripped out the old boards, I rummaged through the pile and saved a bunch of the more salvageable pieces.
The question now became “what to do with all of the wood?” After discarding the old contaminated couch, we ended up buying a new one to replace it (which was actually two love seat sized sectionals connected next to each other). While we didn’t have end tables for the old couch, my wife and I determined that I should create some for the new couch using the old floorboards I had saved. A 6 week woodworking project had now begun.
Board Prep
Before any construction could begin, I had to prepare the boards. They still had the old finish on them and they had grooves on the bottom, not to mention that flooring nails had to be removed from each board.

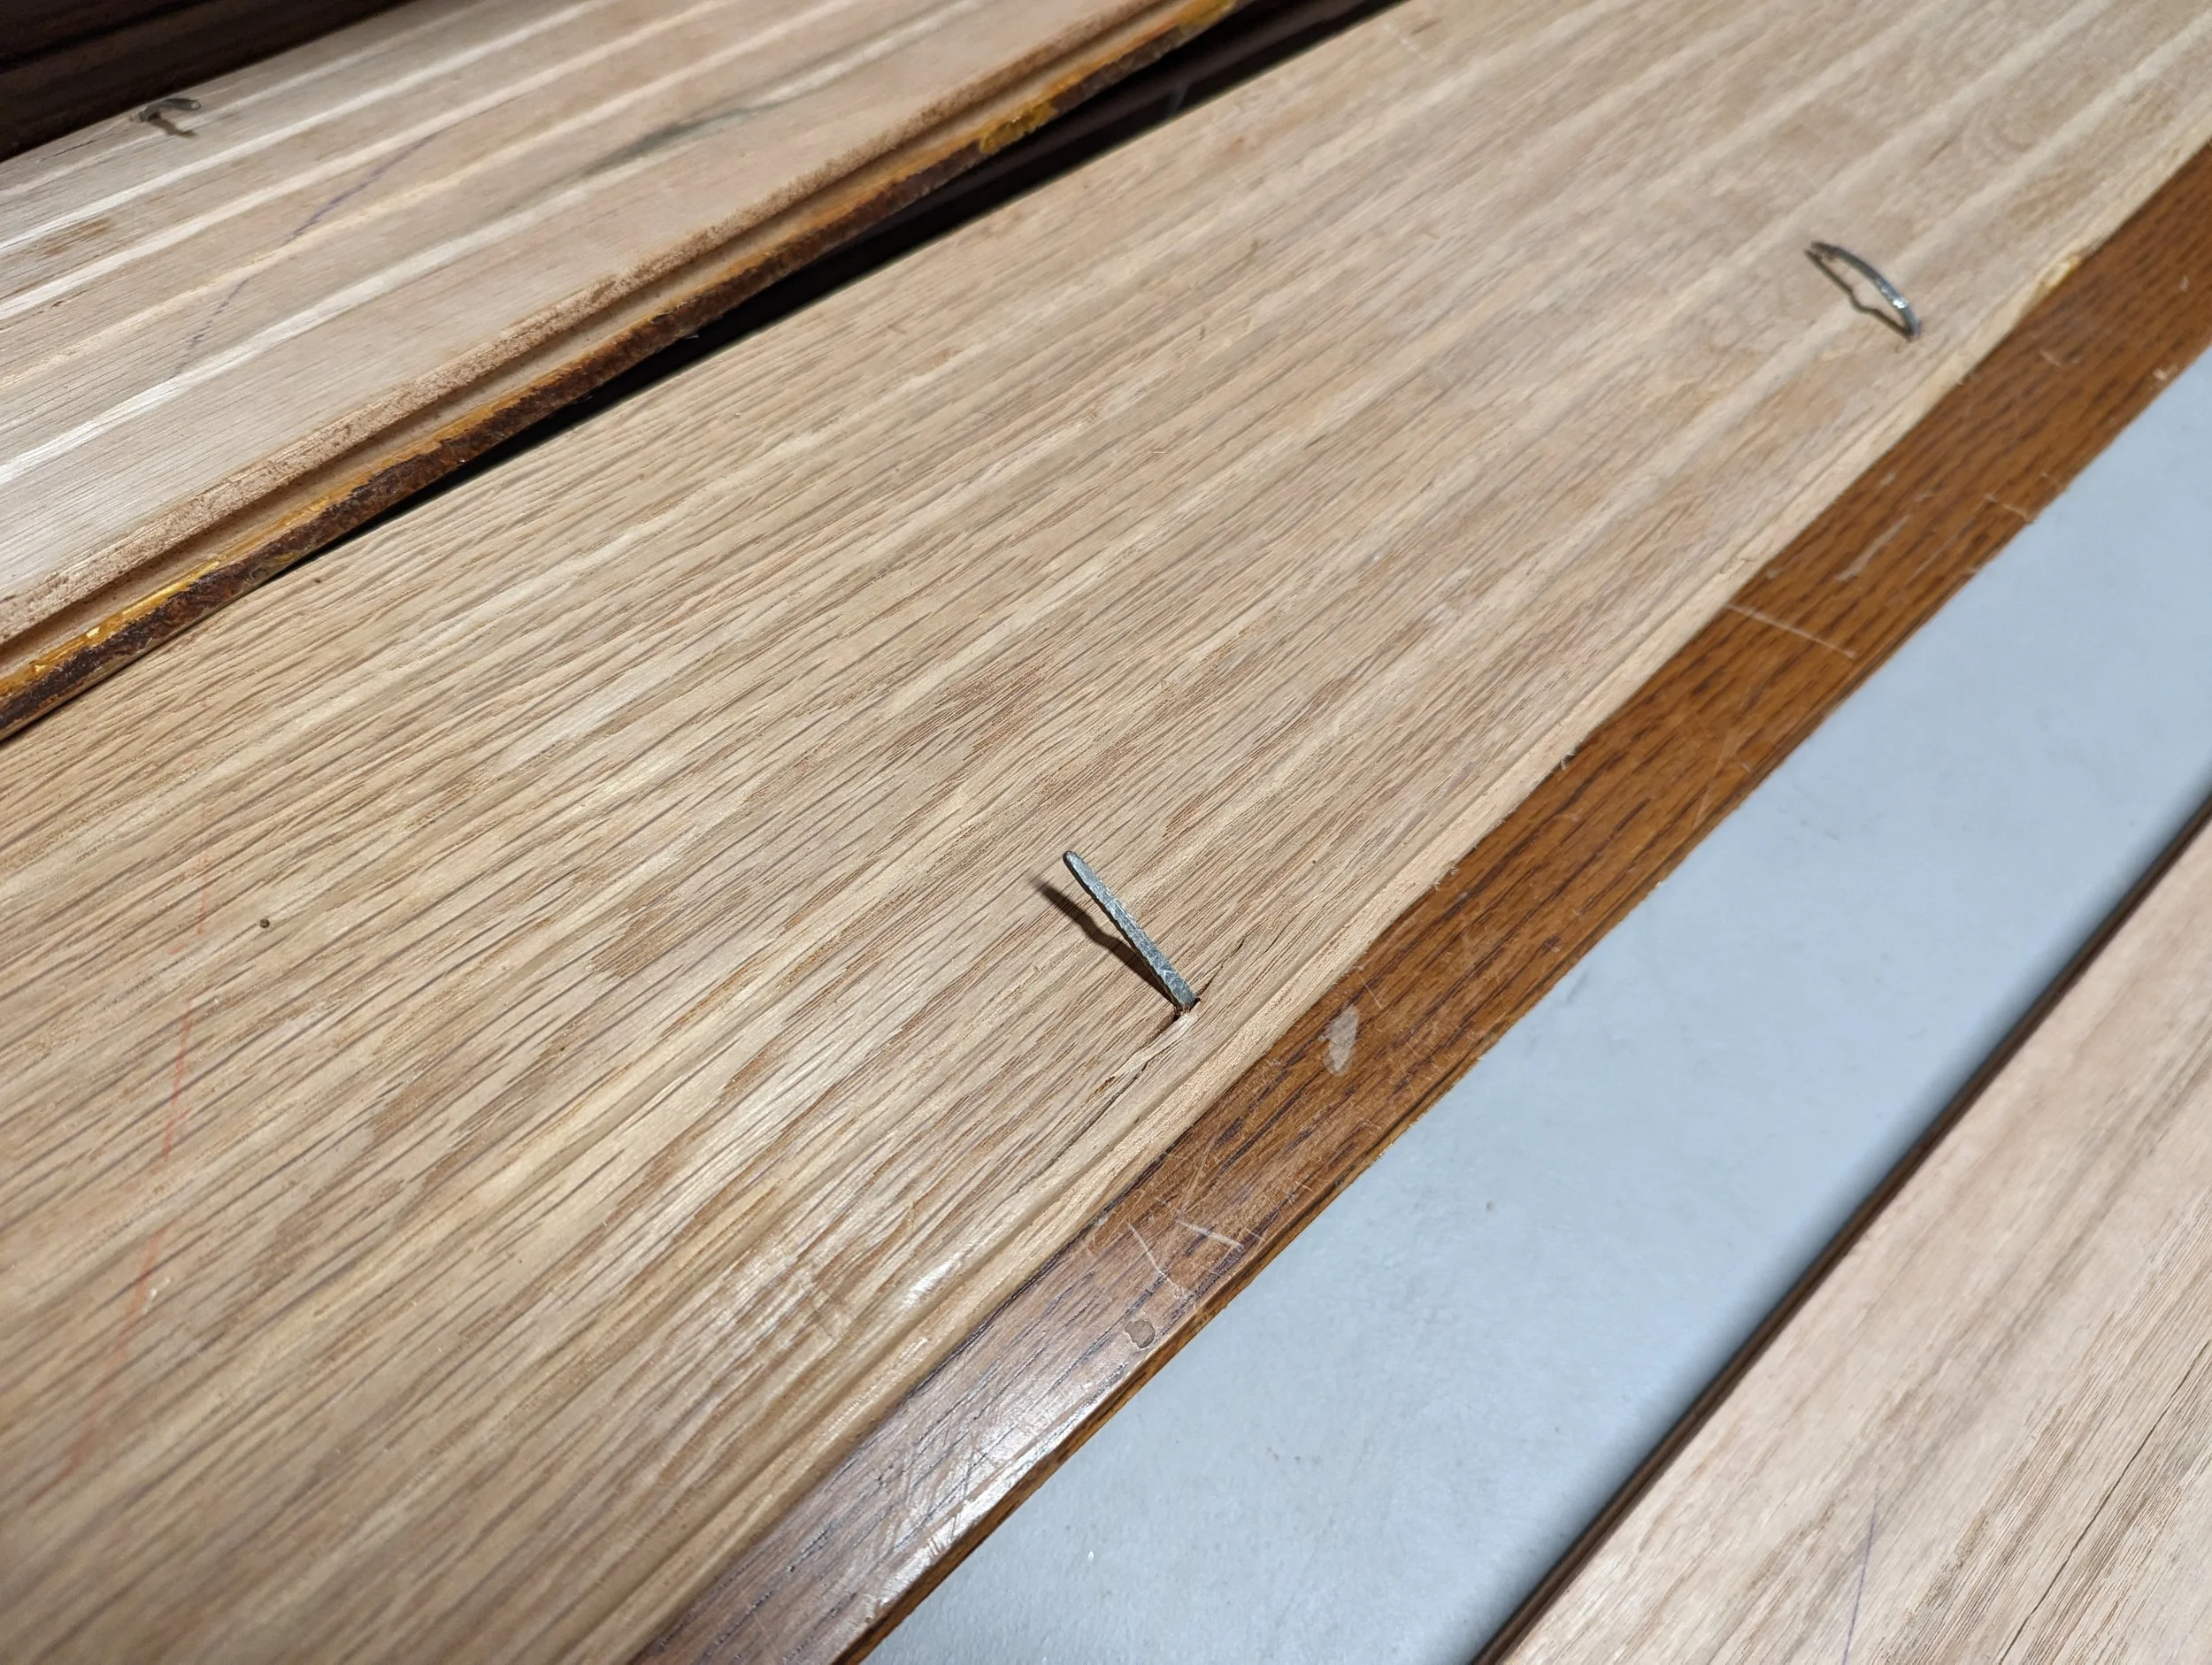


Table Tops
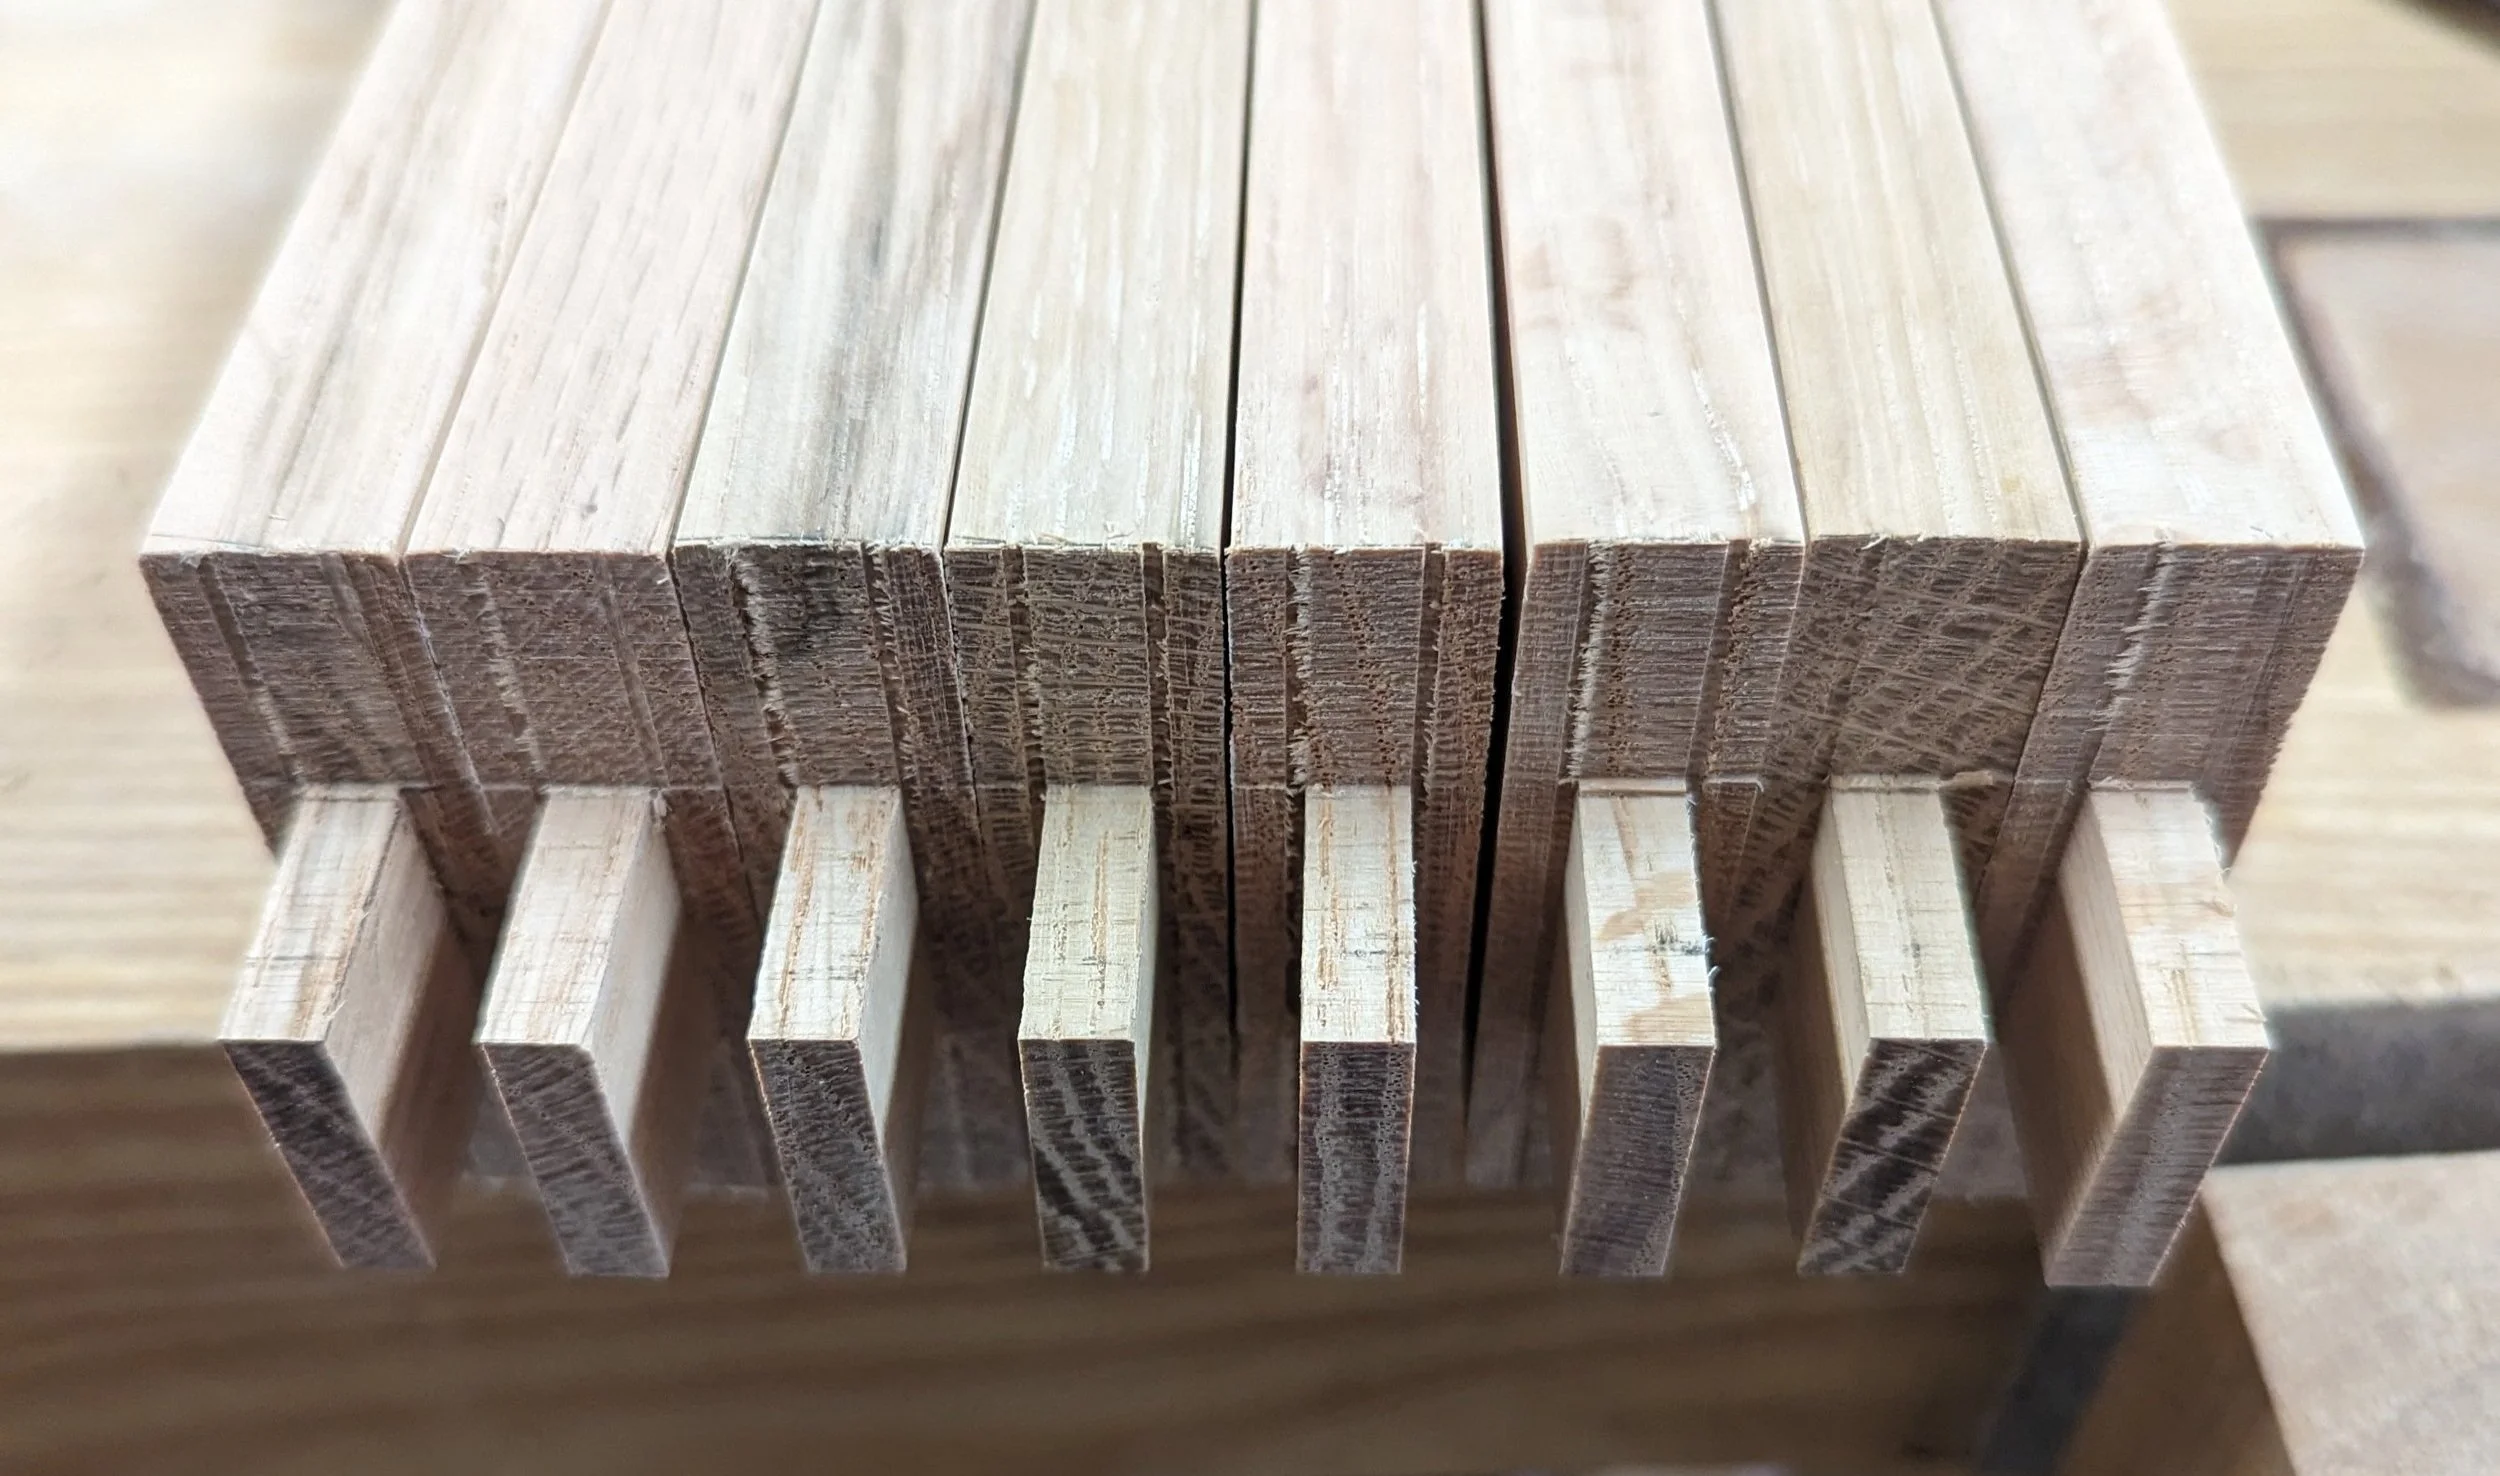
I decided to tackle the table tops first. I had a rough idea of the final design that I sketched up, which was my initial starting point. As I usually do with my woodworking projects, I would adapt and refine the design and I continued the project. For the tops, I decided to cut the boards into strips a little over 1” in width. I then glued those strips on their ends, creating tops that were just over 1” in height. The tops were then cut to size and processed through the planer to level them out and bring them down to a height of exactly 1”


Bottom Shelves
Each table had a bottom shelf. To make these, boards were glued side by side, cut to the right dimensions, and planed down to the correct thickness.


Legs
Strips of wood were cut for each of the four legs of each table. This was a relatively simple process involving the table saw and chop saw. The legs would later be affixed to the table tops using mortise and tenon joints.


Cross Members
Cross members were used in the design to provide lateral stability and provide support for the table tops and bottom shelves. Similar to the legs, a table saw and chop saw were used to cut the legs to size. Tenons were also cut at each end of the cross member using a band saw. In this case, the tenons were cut slightly longer than width of the legs, which allowed for the excess material to be cut from the tenons after the cross members were assembled with the legs, providing a level surface with the legs.
Putting It All Together
After all of the pieces were cut and prepared, it was time to put everything together. Motises were cut in the table tops to affix the legs. I also used dowel pins to provide additional structural support for the legs. For the pins, holes were cut in the table tops and the leg tenons. When doing this, I ensured that the holes in the tenons were 1/32” closer to the tenon shoulder. This way, as the dowels were hammered through the holes, the each dowel pushed up on the tenon hole, which provided additional clamping pressure on the mortise and tenon joint. After everything was assembled, the excess dowel and cross member tenon material was removed.


Final Product
After assembly, the tables were sanded down to 320 grit and finished with Osmo Oak Antique Wood Wax finish.


